

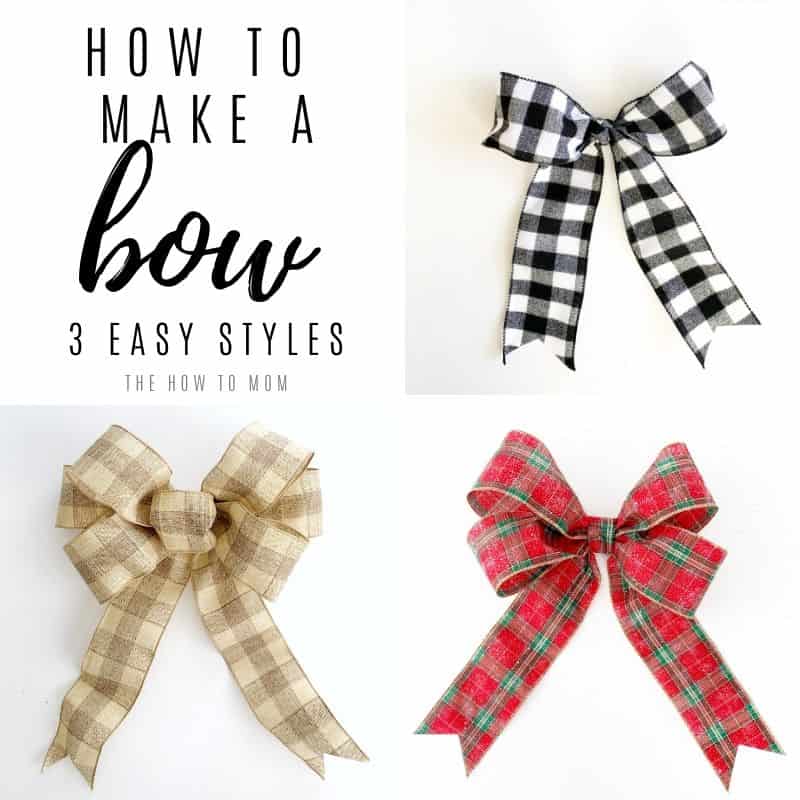
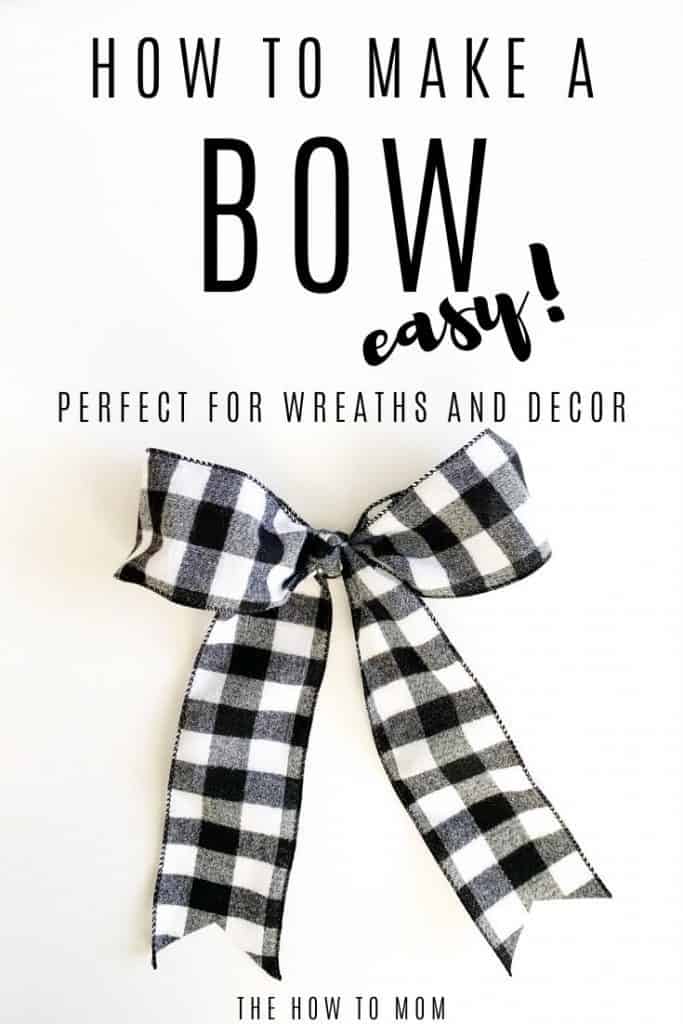
How To Make A Small Bow For A Wreath
A perfect bow is the finishing bear on whatsoever DIY wreath! I'll show you 3 SUPER easy ways to make a bow for a wreath, plus a few extra tips and tricks.
I often go asked for bow making tutorials to go with my wreaths, especially my False Boxwood Wreath DIY and my Fall Leaf Wreath. Making beautiful bows is not as scary every bit some people call back, and yous don't need whatsoever crafty skills, promise! You don't even need to know how to tie a bow!
These uncomplicated bow techniques are also great for holiday decorating and gifting. Its how I make bows for garland and stairs and even outdoor decorating. These DIY ribbon bows make a perfect Christmas tree bow, either for nestling in the branches, or a tree topper bow. It seems like around the holidays, there'southward ever something that needs a little finishing touch, and knowing how to brand a bow out of ribbon is a slap-up manner to add that extra holiday magic.
pssst…if yous but want to buy a bow already fabricated, check out this round-upwards of the prettiest premade holiday bows.
I starting making these bows dorsum when I ran a baby hairbow boutique (Simply Lulu Boutique, anybody think? lol). I've modified information technology slightly to make bows with tails. But you lot can also leave the tails off! Honestly, these DIY bows can be used on almost anything!
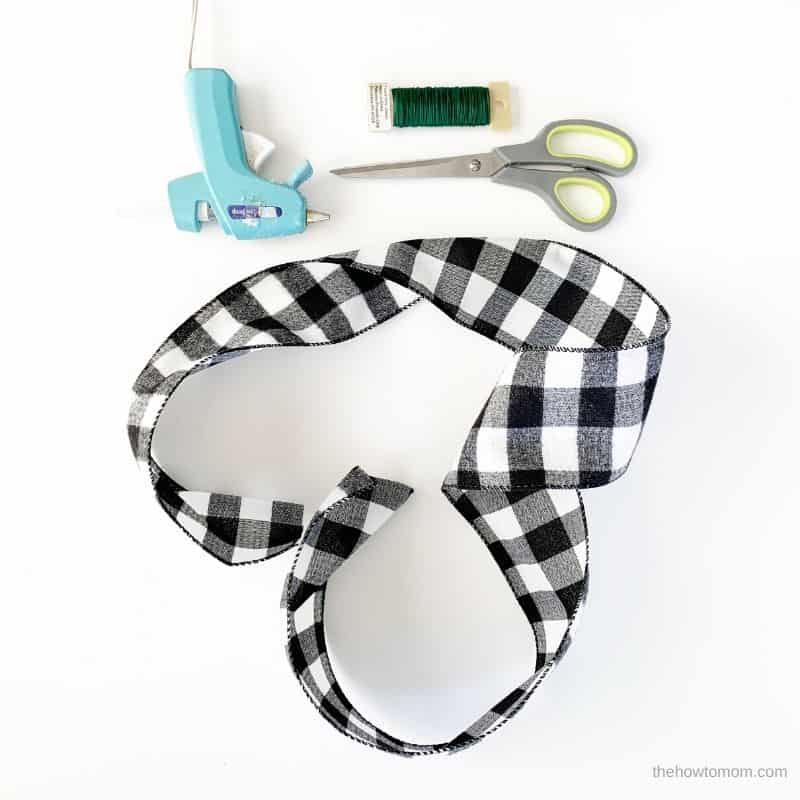
Supplies needed to make a DIY bow for a wreath
This post contains chapter links, I may receive a committee from qualifying purchases.
Ribbon
Pretty important item for a bow! haha There are lots of dissimilar types of ribbon out at that place, but I like using a prissy broad ribbon, at least ii-3 inches broad. You can employ either wired border ribbon or regular. Wired ribbon gives you a little more command over the shape of the loops and any bends in the tails. Regular ribbon may be a little droopier or stiff, depending on what the ribbon is made of.
Cord or Wire
You'll need a piece of string or flexible wire to cinch the ribbon together. I utilize floral wire from the Dollar Tree and it works swell, or you tin also find a spool of floral wire on Amazon. You lot could even use a twisty tie. Pretty much anything will do, as it'll get covered up with ribbon. You'll run across. 😉
Hot Glue Gun
Since we're doing this the easy mode, we'll need hot glue for the finishing bear on our wreath bow. Low or high temp gum gun is fine. I similar these basic little hot glue guns from Amazon. Nothing fancy!
There are a lots of different ways to make a beautiful bow, but I have three different easy bow styles/techniques to choose from:
– classic single loop
– double loop
– triple loop (or as many loops as you'd like!)
The classic single loop is like to my easy floppy bow. If you're using a softer ribbon, and yous want a bow with a chip of a droop to it, you could use this tutorial or the floppy bow tutorial.
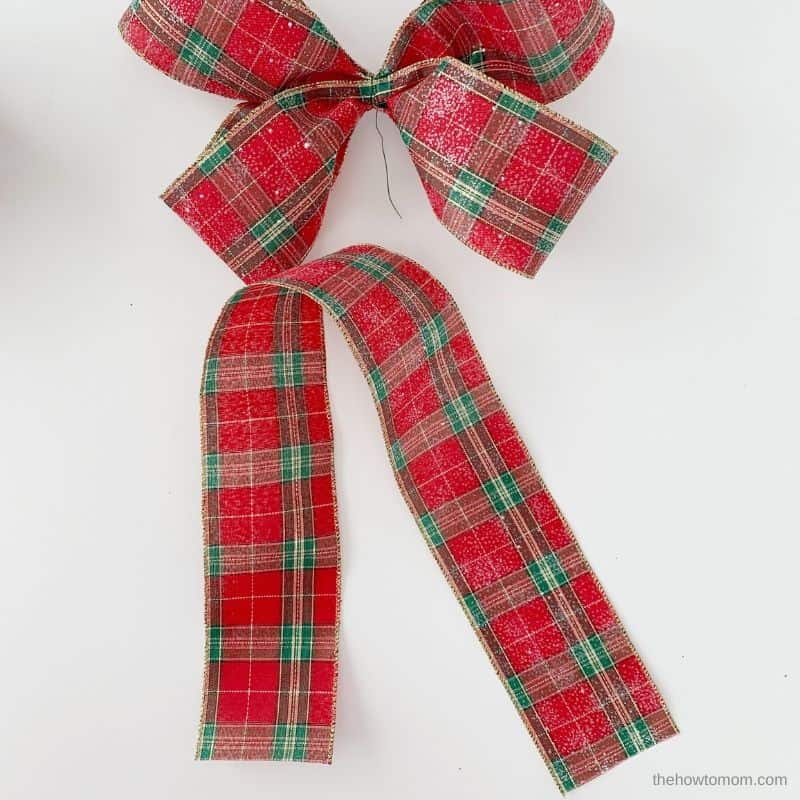
How to make a simple single loop bow
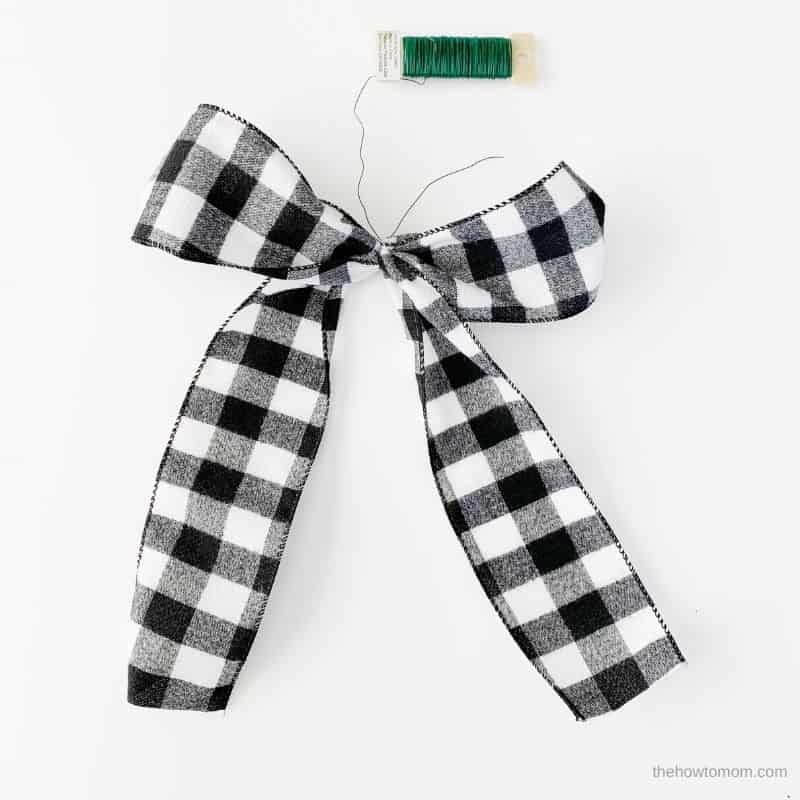
1. Kickoff by cutting a long piece of ribbon. I typically use about a one.5-2 yards, depending on how dramatic or floppy you lot want information technology. Also, the wider your ribbon is, the longer your ribbon will need to be. This ribbon is 3.5 inches, and I used 1.5 yds. I think 2 yards would have been better though, to make longer tails. For 2 in ribbon, around one yard should exist fine.
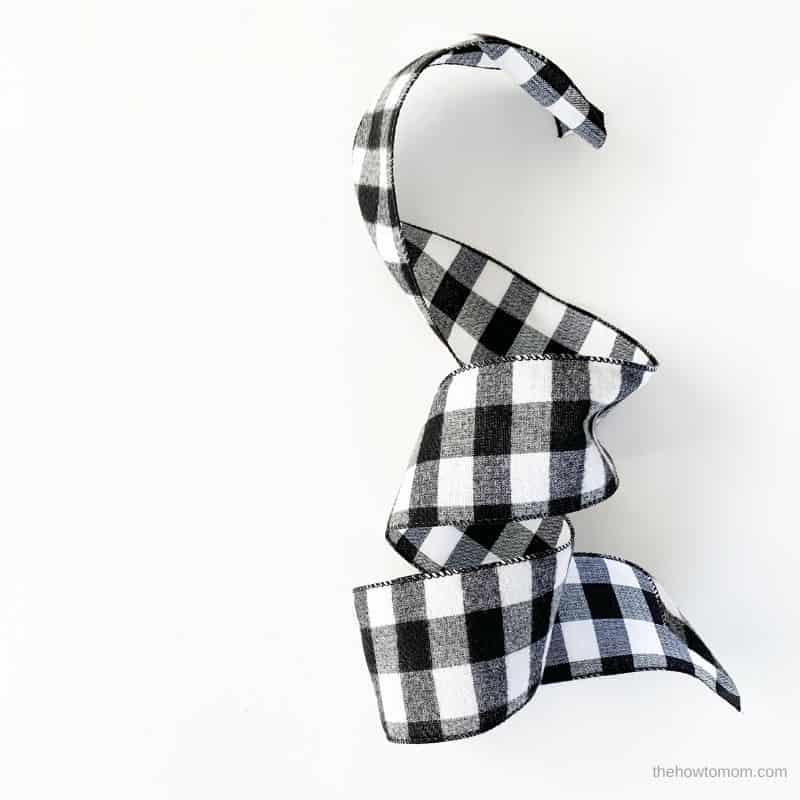
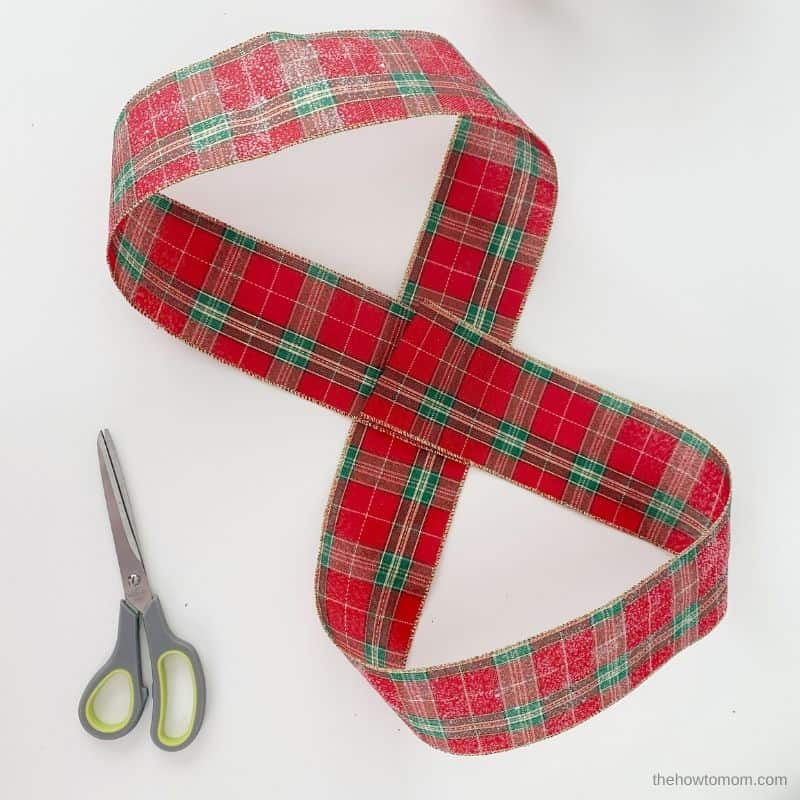
2. Brand a loop, like shown. The ribbon on the finish will be the tails, and then adjust the size of the loop accordingly.
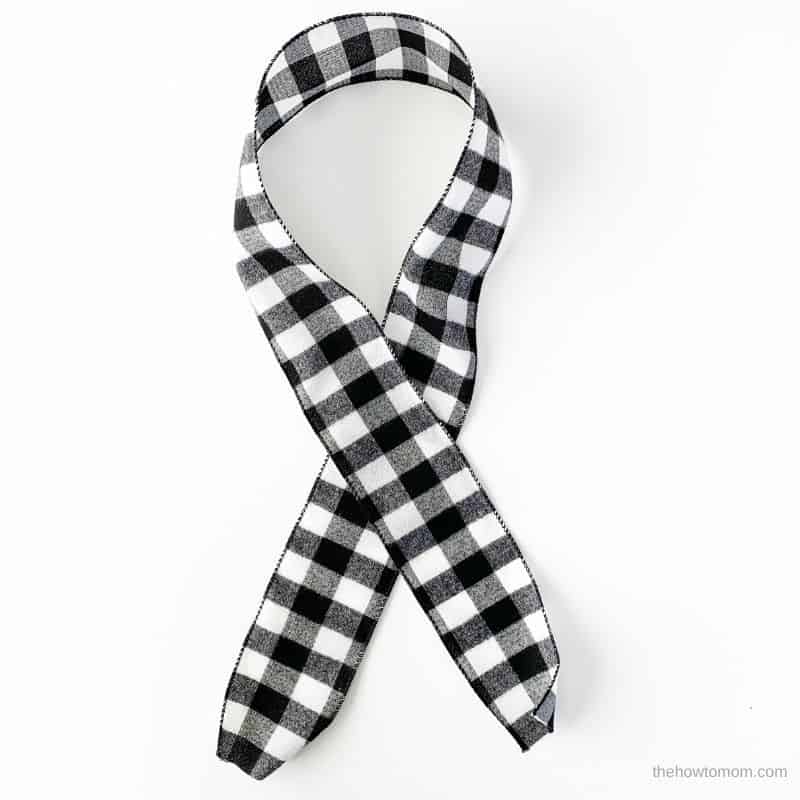
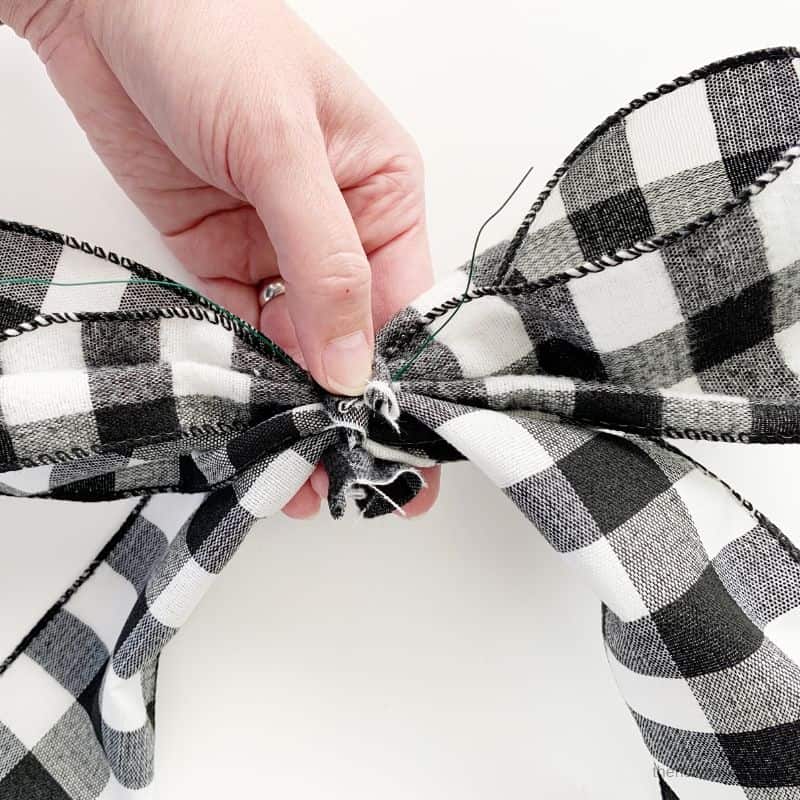
3. Bring the heart of the loop downward to where the ribbons cross, and cinch it with your fingers. You may need to adapt the size of the loop, depending on if you want bigger or smaller loops of your bow.

4. Secure with cord or wire.
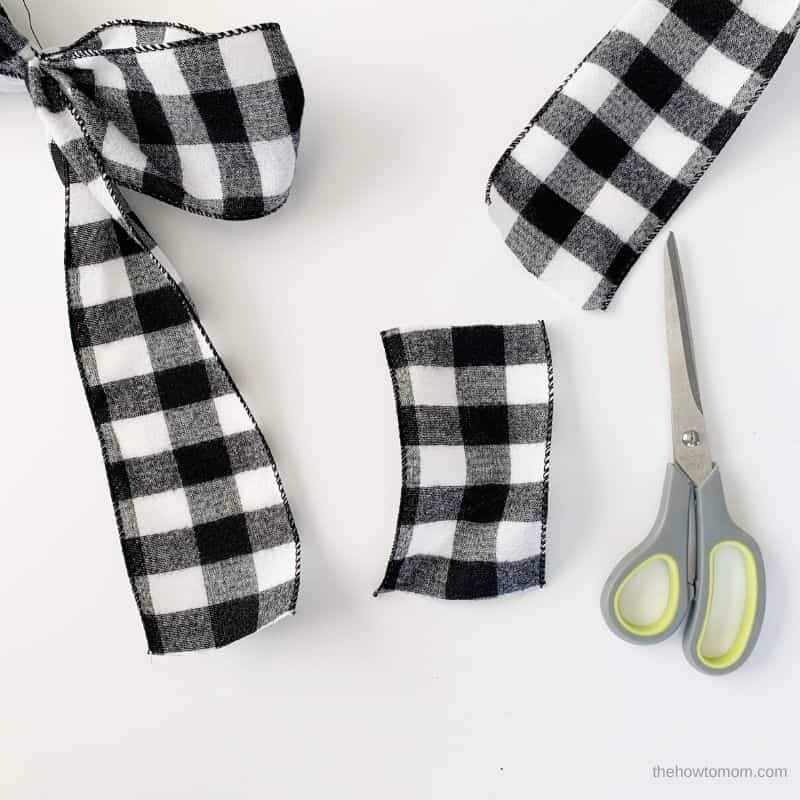
v. Cutting a small piece of ribbon for the "knot". Y'all can fold or tie a knot in it, if desired.

6. Gum knot in place and secure ends on the dorsum. It doesn't have to be pretty, no ones going to see the back! You can leave the wire or cord on, to secure the bow to the wreath, or y'all can cut them off and when the time comes you can just hot glue the bow to the wreath.
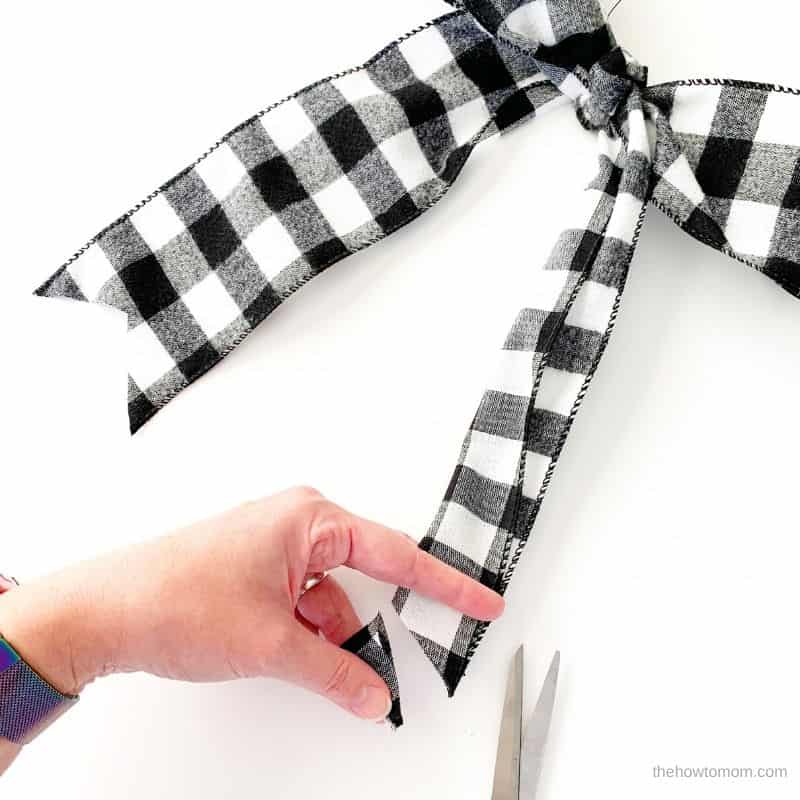
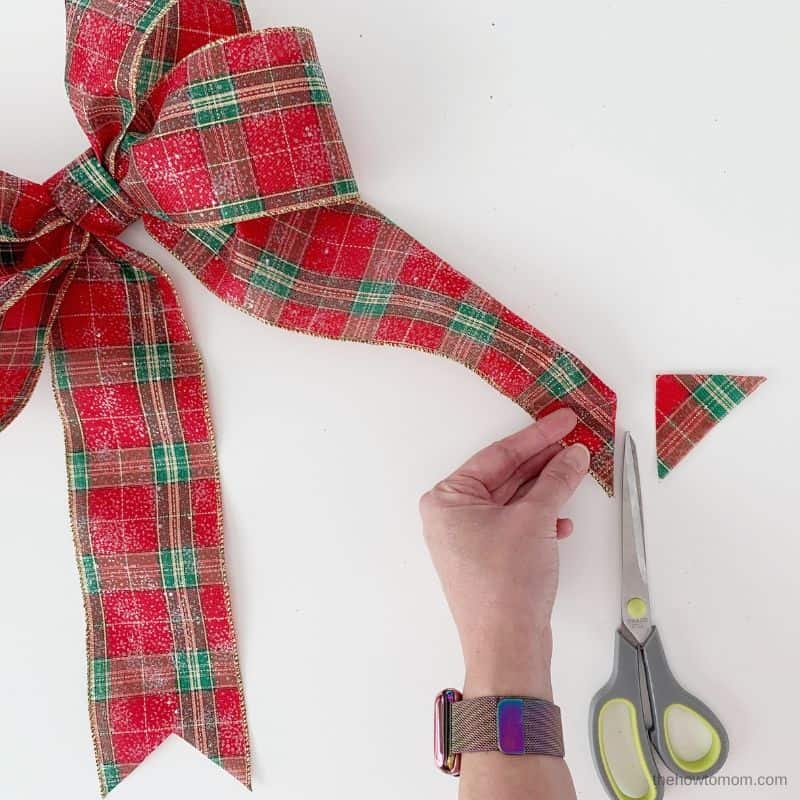
seven. Cut the tails as desired, either in a V or at an angle. To make the 5, fold the cease in half lengthwise and brand i angled snip. Ribbon volition tend to fray if its cut straight across, unless y'all seal the edges with a flame or articulate nail smooth. I personally like the Five cut.
Voila! Easy, huh?!
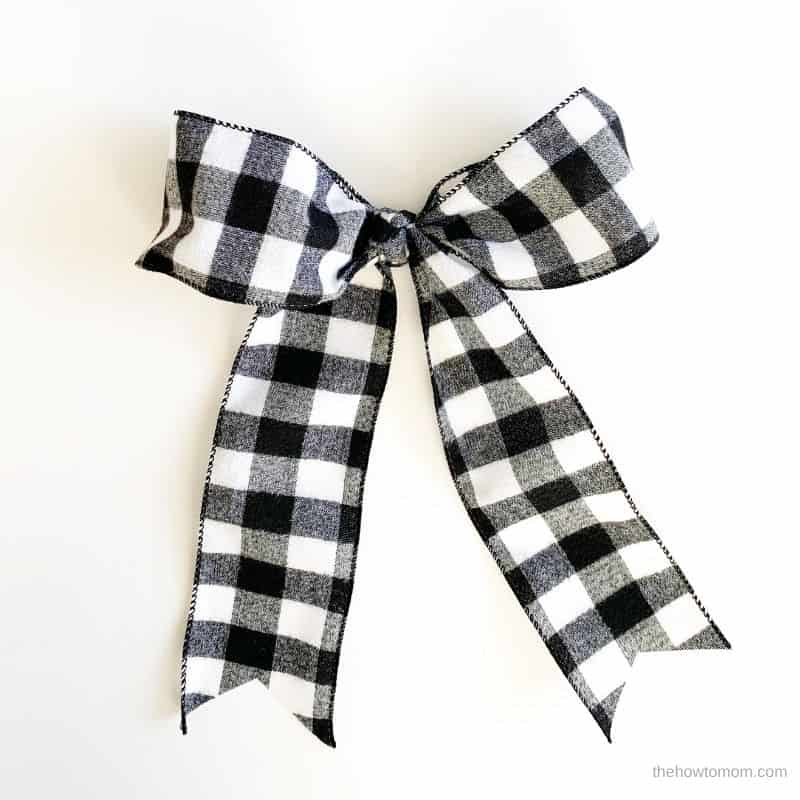
Gah, this buffalo check ribbon is sooo pretty. I used it on my Pinecone Wreath tutorial and just dear the cozy flannel terminate to it. I bought it from Michaels, its iii.v inches wide, and they conduct it seasonally. Just here'south a link to the a like flannel ii.five inch buffalo check ribbon from Amazon. I besides love this 4 pack of Christmas plaid ribbon, they're sooooo pretty!
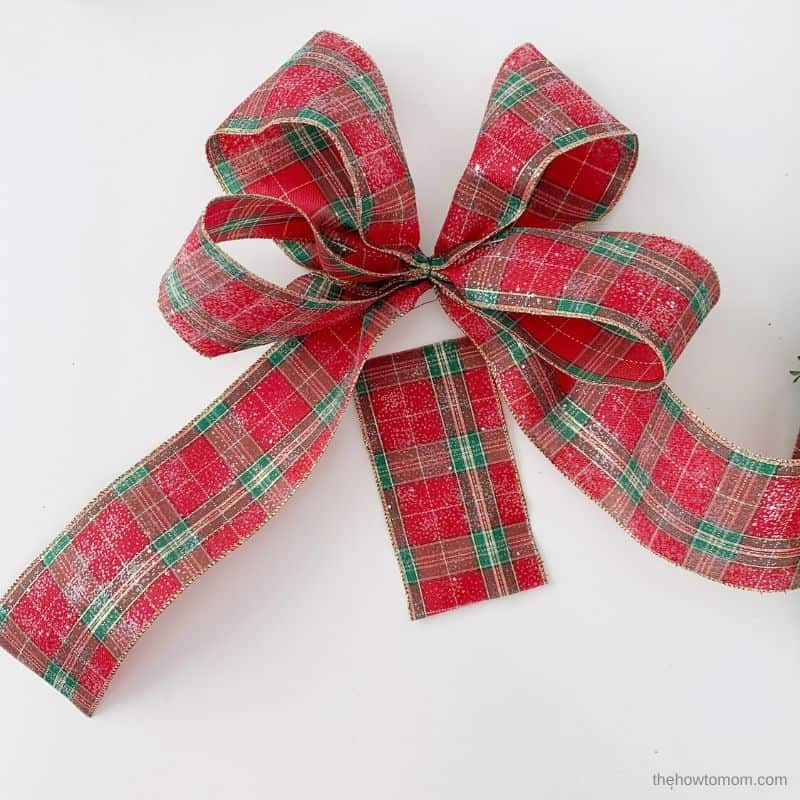
How to make a double loop bow
This technique builds on the unmarried loop bow above, but instead of leaving the tails out, you create two loops to get a little more fullness. This is the basic hair bow technique I use, without the tails.
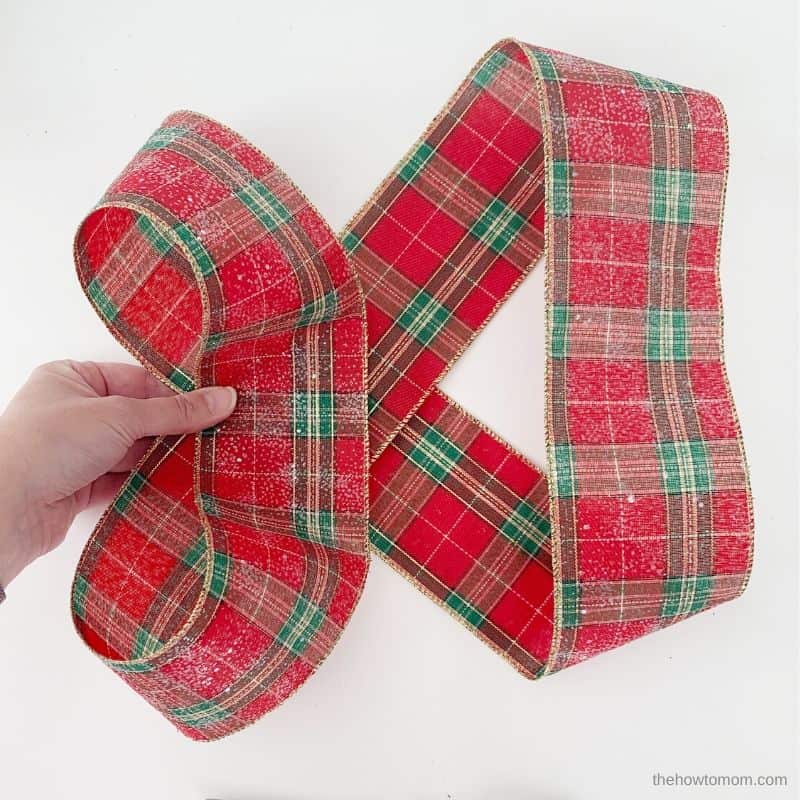
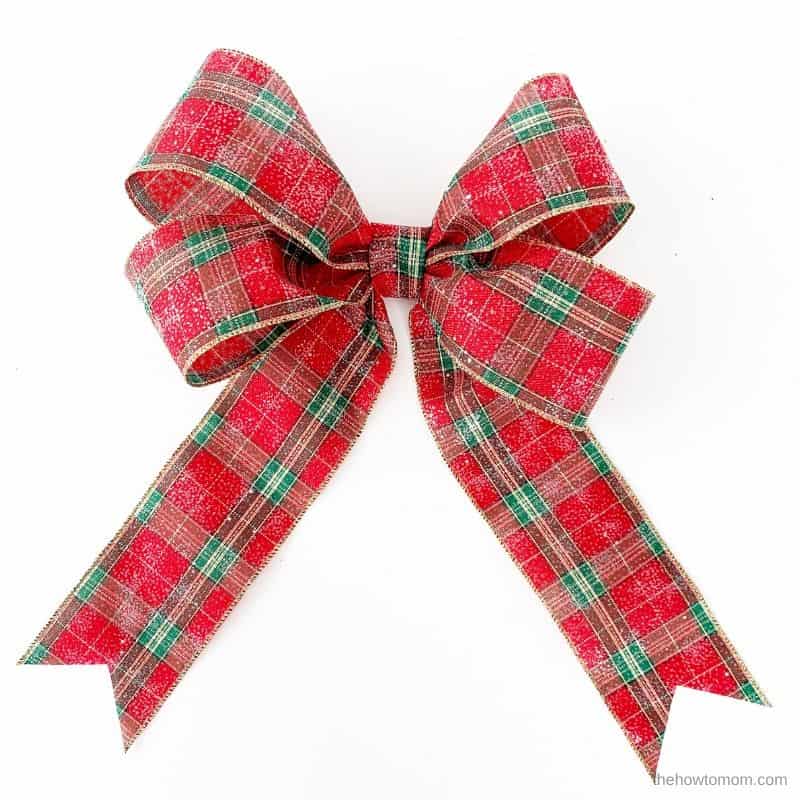
For this Christmas bow I used a actually pretty sparkly plaid 3.5 inch wide ribbon from Michaels. They comport it seasonally, but I found the aforementioned extra wide Christmas plaid ribbon on Amazon as well. I too like this classic Christmas plaid ribbon every bit well, but it is only 2.5 inches broad.
1.Cut your ribbon to desired length. For this 3.5 in ribbon, I used 2 yards for the loops and a trivial less than a 1000 for the tails. Brand 2 large loops every bit shown, with the ends of the ribbon over lapping a little at the very center.
ii. Bring the centre of i of the loops to the the centre.
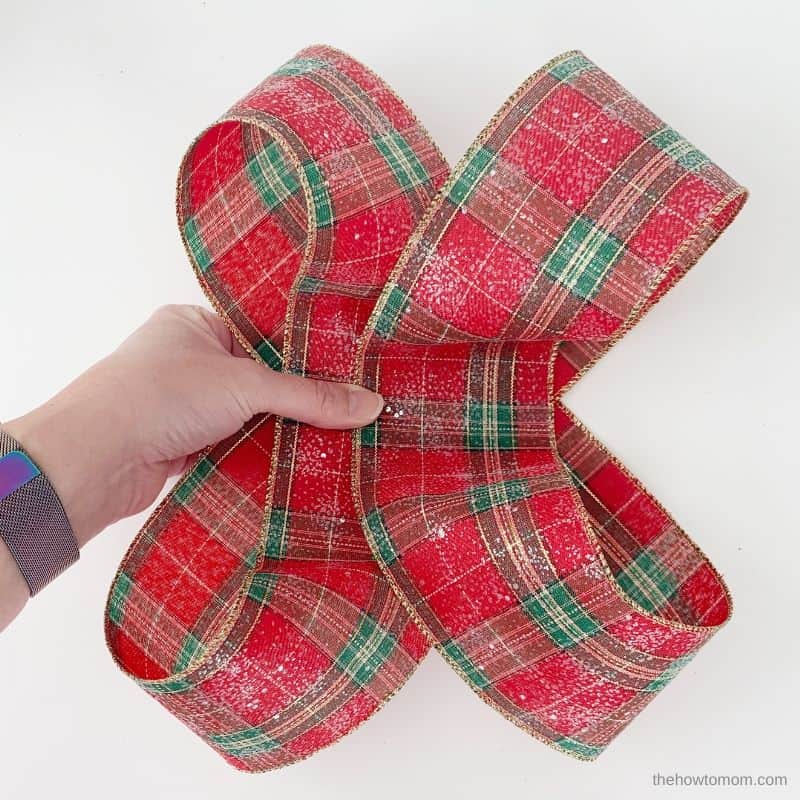
3. Repeat with the other side of the bow.

4. Scrunch the heart of the bow together. If the bow seems lopsided, adjust the loops on each side. Secure with floral wire or cord.
5. Add the tails by bringing the center of a long slice of ribbon up to the middle of the bow, and secure it with the wire or string.
6. Cut a short slice of ribbon for covering upward the center of the bow.
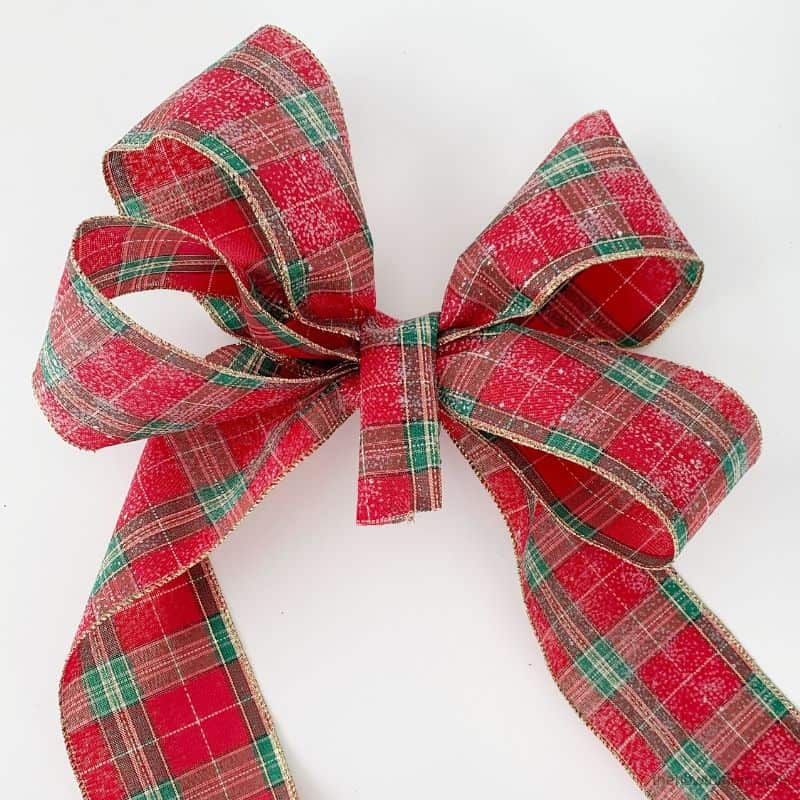
7. Fold the pocket-size slice in half (or tie into a knot like in the b&w bow in a higher place), and glue to the dorsum of bow, so bring it effectually to the forepart, and around to the dorsum to cover upwards the wire or strings and give the bow a finished look.
8. Cut tails of the bow at an angle or in a V shape like shown.
Fluff and accommodate the bow as desired.
How to make a triple loop bow
This technique tin can be done with as many loops equally you want! I've chosen iii for this tutorial. You lot tin have all your loops be the same size, or you tin have larger loops in the back and smaller loops in the front. The burlap ribbon I used is the archetype two.5 inch wide size. This tan and cream check ribbon is really similar.

1. Decide how wide you want your bow and then double the number to give you how long to cutting your biggest loop. Cut 2 more lengths slightly shorter for the other loops. And cut a shorter piece for the centre loop, and a piece for the tails. Mucilage all the pieces (except the tail piece!) into into a loop shape equally shown.
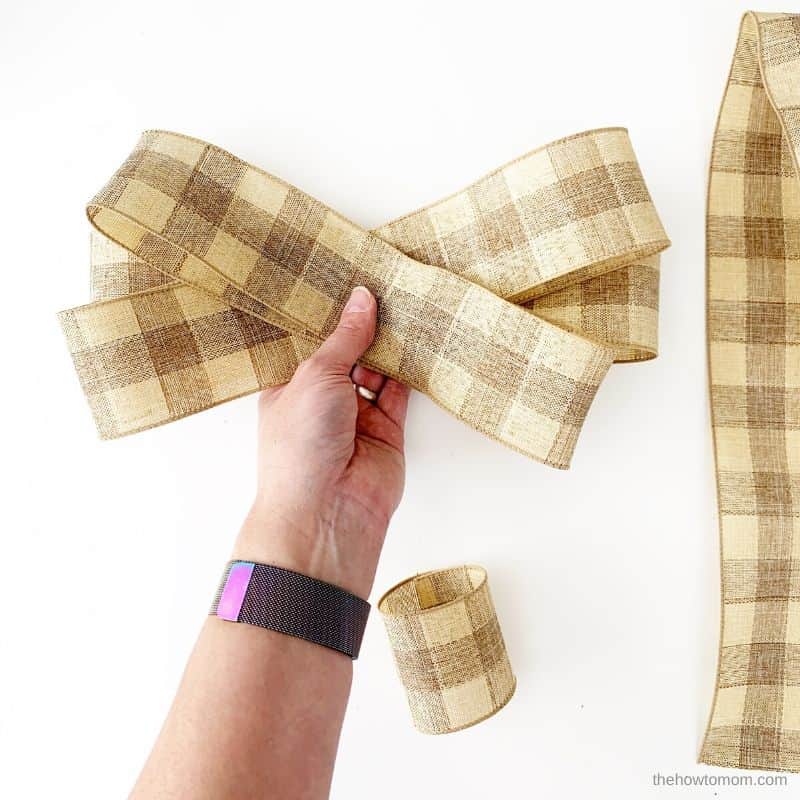
2. Layer the loops to create the bow. I similar to put the largest loop in the back and cross the forepart loops to give it a lilliputian more than volume, just you could just stack them up and twist them into the right place later.
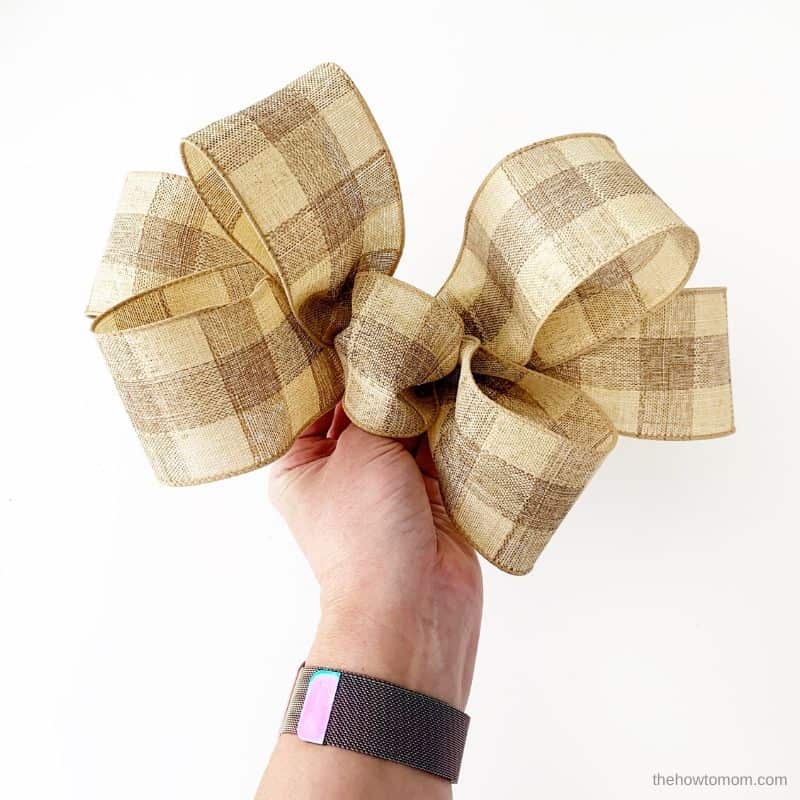
3. Scrunch the center to create a bow shape. Add in the middle loop and scrunch (if desired, you could also only glue a plainly slice of ribbon over the center at the stop). Make sure your bow is even. If one side seems longer or bigger than the other, you may need to adjust your eye.

four. Use a piece of wire or string to hold the bow shape. You could employ the bow just similar this, if y'all want a round shaped bow, or you tin can continue to the next pace to add tails.
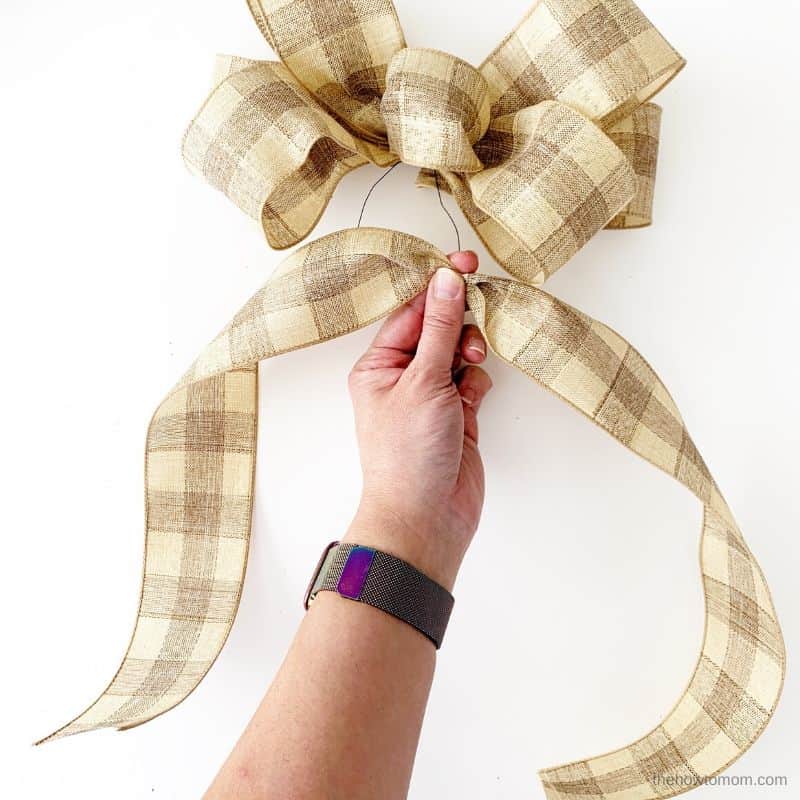
five. Scrunch the center of the long ribbon (for the tails) and add together it into the remainder of the bow. Secure with the floral wire or string.
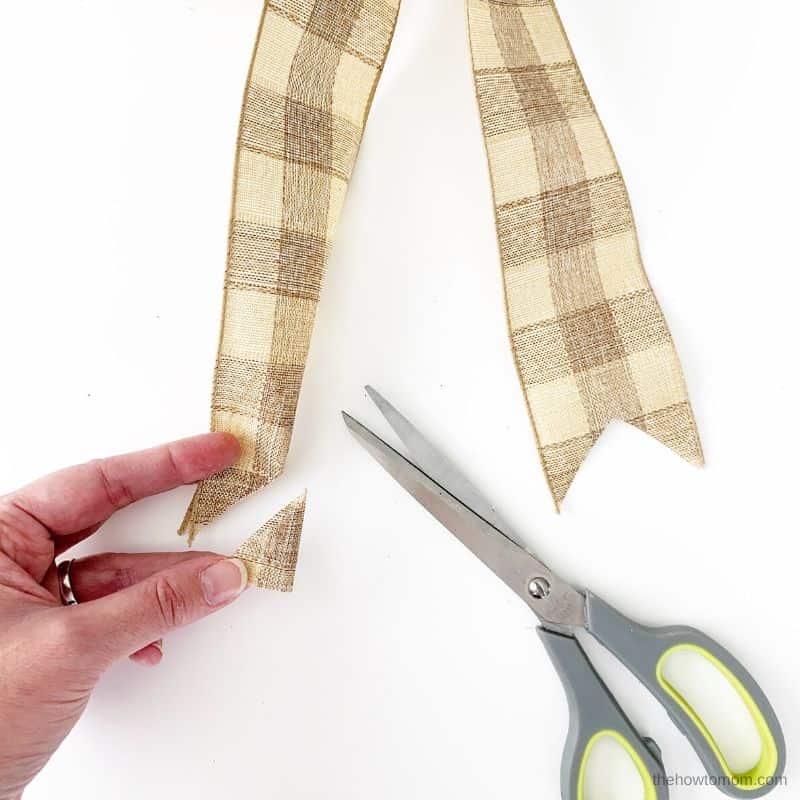
6. Then prune the ends of the tails, either in a V or at an angle.
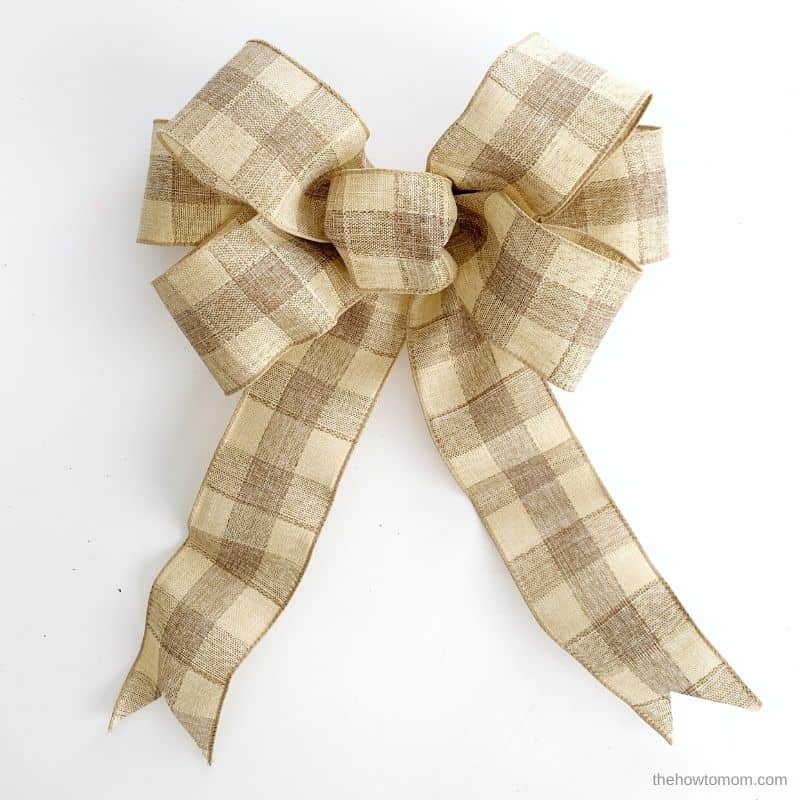
7. Lastly, twist and adjust the loops of the bow as needed. I also like to add some bend into the tails of the bow to give information technology a little move and personality.
I hope these step by step instructions have been helpful in showing you lot how to make a bow with ribbon. At present you can confidently brand your own bows for wreaths, presents, tree toppers, garland, or anything else you tin think of!
I dearest to meet what YOU make! Tag me @thehowtomom on IG or on FB at The How To Mom. If you take any questions, comment or email me, I'm e'er happy to assist! And if after all this, y'all'd rather just buy an already finished bow, bank check out my roundup of the prettiest premade holiday bows here.

How To Make A Small Bow For A Wreath,
Source: https://www.thehowtomom.com/how-to-make-a-bow-for-a-wreath/
Posted by: nelsonwhisce.blogspot.com
0 Response to "How To Make A Small Bow For A Wreath"
Post a Comment